How to take newborn photos at home? Safety, preparation and execution.
Are you wondering how to take newborn photos at home? If yes you are at the right place. As an experienced Kitchener newborn photographer, we have great tips on how to take newborn photos at home. With the arrival of a new baby, many parents want to capture their newborn’s special moments with professional-quality photographs. To help preserve these precious memories, many parents turn to newborn photoshoots. But what if you don’t have the budget or the time for a professional photoshoot? Is it possible to take baby photos at home?
Why go to a professional newborn photographer?
Before discussing how to take newborn photos at home, you need to understand that we are not discouraging you from going to a professional newborn photographer. Newborn photographers have the expertise to capture your baby in the best lighting and pose them safely. Professional newborn photography studios also have plenty of high-quality props, outfits, backdrops, lighting equipment etc that can help create stunning images. If you need photos just as keepsake memories or if you are looking to save money then definitely go ahead and try it out this article on how to take newborn photos at home will be helpful. If you are looking for high-quality artistic images, we suggest booking with a professional experienced photographer specializing in newborn photography.
Doing a photoshoot of your little one at home can be a fun experience. You might not own as many props and other professional-level equipment as photographers do, but don’t worry about it, as we will not only be discussing how to take newborn photos at home but also go over things that you could use as alternatives to expensive props and equipment that professional newborn photographer use. We will also recommend and link props, layers, outfits, etc., that will help you create better photos at home, which you can purchase if you wish to use them in a newborn photoshoot.
How to take newborn photos at home? : Safety
There is one vital consideration you need to make before your start reading further about how to take newborn photos at home and attempt to do it your self and that is the safety of the baby.
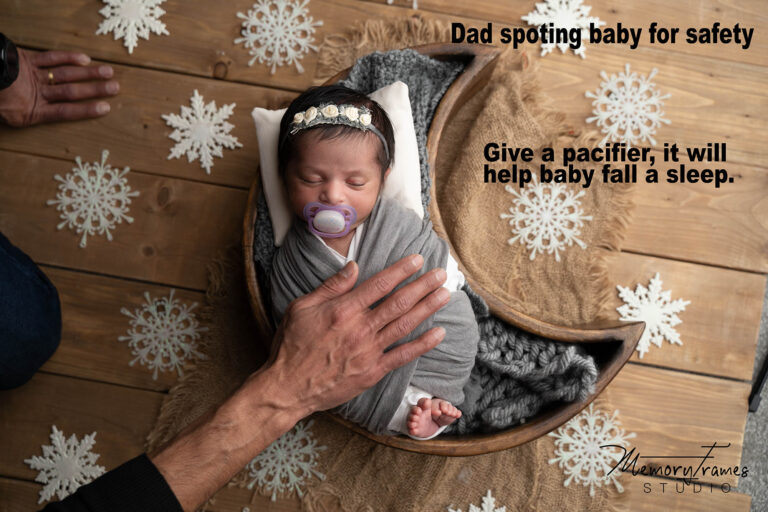
Safety is one of the essential factors that you need to be mindful of. We can not discuss how to take newborn photos at home without discussing newborn safety while posing, wrapping etc. At all times you will need someone to assist you with posing and spotting the baby while you click images. Wear your camera around your neck at all times, to prevent your camera from accidentally dropping and hurting the baby. Use good quality products, especially those with direct contact with the baby’s skin like swaddles. Babies should never be posed in such a way that their nostrils and mouth could become blocked by something like blankets or props. We recommend you do as much research as possible to know how to safely pose the newborn.
The whole process of how to take newborn photos at home can be divided into two phases. The first phase is planning and preparation, this should be done before the baby is born, ideally in the second trimester. The second phase is Execution which will obviously be done after the baby is born.
How to take newborn photos at home? : Planning and preparation
Whether you are booking the photoshoot with a professional newborn photographer or doing it yourself you should start working towards it while you are still pregnant. According to us, the second trimester would be the best time to plan for such things as most expecting moms feel best health-wise in their second trimester. We think that preparing in the second trimester is your safest bet as in case if baby decides to arrive earlier than your expected due date you are ready with all the things you would need for your newborn photoshoot at home. Usually, the newborn photoshoot is done within 15 days of the baby’s birth. Since a newborn photoshoot is done within a short duration after the baby’s birth it is best to plan and prepare for it before the baby’s arrival. Below are the thing you will need to prepare and arrange for to take baby photos at home
1 - Equipment
- Camera: The first and most important thing you will need is a camera. You do not need to buy a professional-level full-frame camera, any kind of camera that you own will work for your newborn photoshoot at home. If you don’t own a camera and are planning to buy one to do your DIY newborn photoshoot and capture your growing baby in the future this is the camera we recommend.
- Lights: One essential element for good photos is lighting. Professional photographers spend thousands of dollars on their lighting equipment as they understand what key role this element plays in end results of their photography. Unfortunately, we haven’t been able to find reasonably priced lighting equipment that we could recommend to you that would provide you with the same results. Lighting equipment with similar results is very expensive and we wouldn’t recommend buying it for one-time use. However, if you can do the photoshoot in a room with a large window it should work fine. You will need to cover your window with sheer white curtains to prevent harsh lighting. Direct sunlight or harsh light will result in blown-out images so you want to ensure your window is covered with 2 – 3 layers of white sheer curtains, these sheer curtains will work perfectly if you are looking to buy. If you are looking to save money you can also opt for covering your windows with white Shower Curtain Liners.
2 - Poses
For your DIY newborn photoshoot at home, we suggest doing only simple poses. Anyone that does not have experience posing newborns should stick to simple poses like laying the baby on their back and on their side, such poses could be done easily and do not require much-posing knowledge and skills. These simple baby poses if done correctly would make for beautiful images. If needed make a note of 2 -3 poses you would like to try for your newborn photoshoot at home. Remember to take close-up shots of their features like eyes, nose, lips and ears. You can also take a few images holding their finger, feet and hands these images give a perspective of how tiny the baby is especially a few months later when you look back at these images.
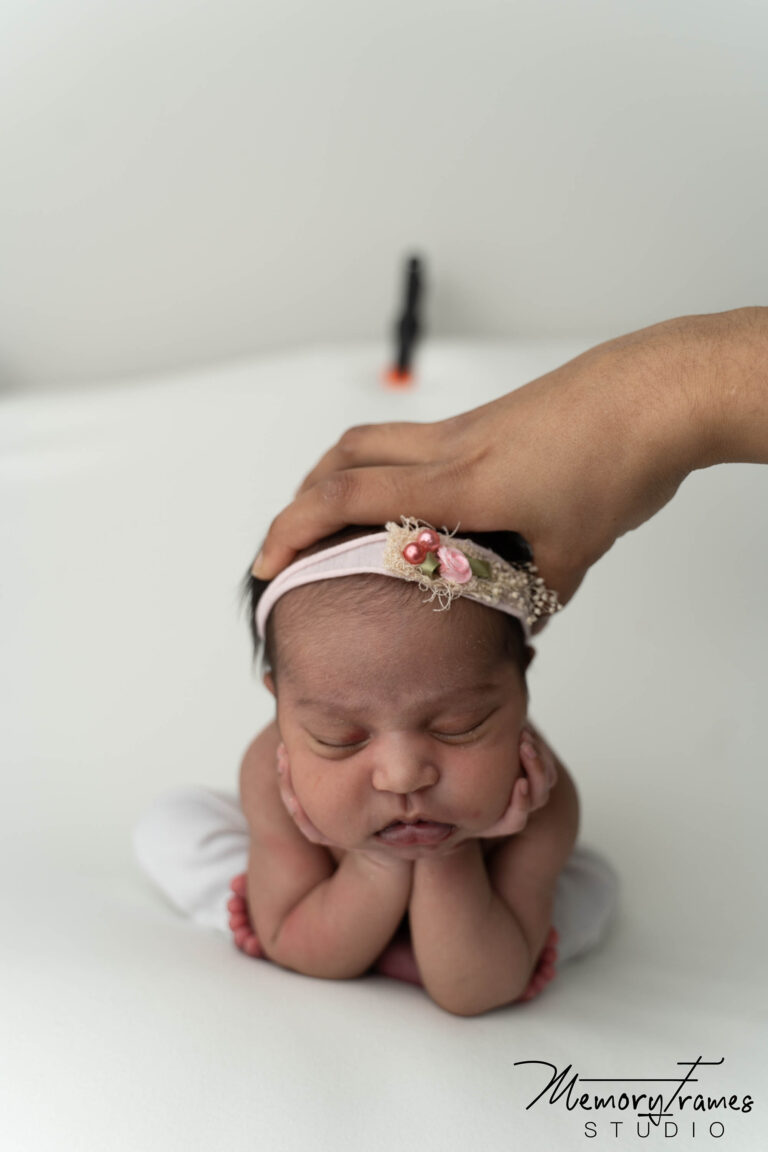
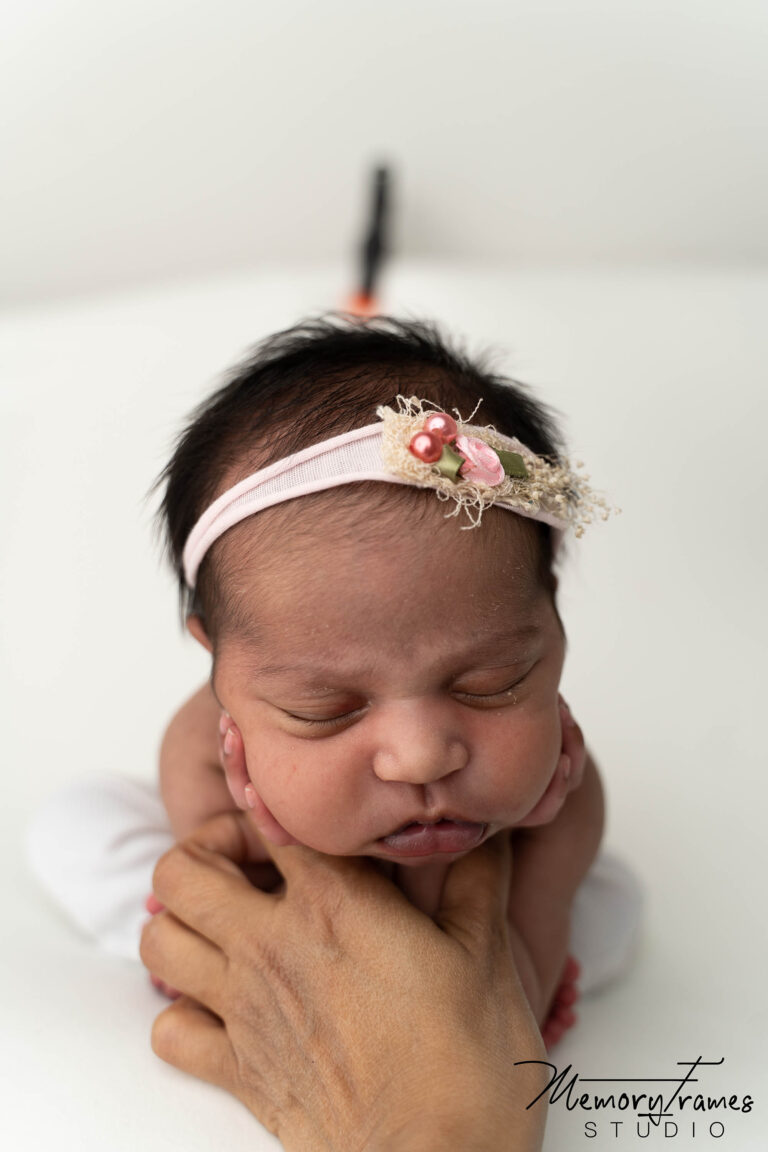
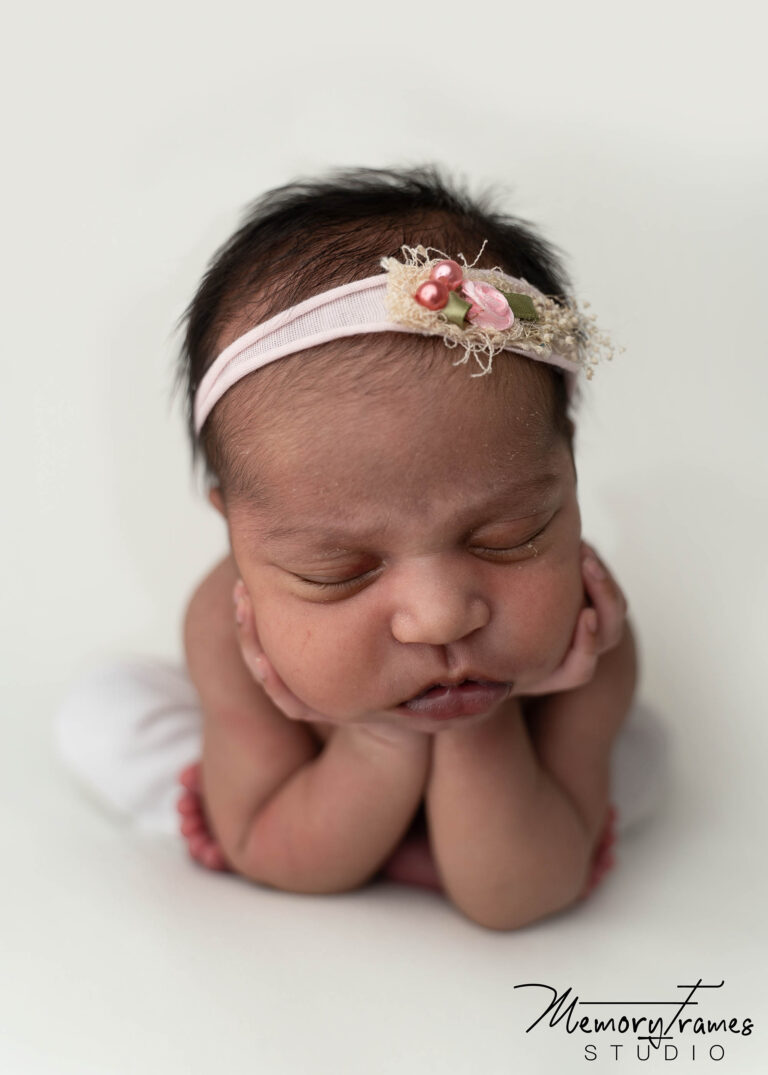
- Posing safety – Poses to avoid: while you would be tempted to do certain poses you might have seen on Instagram, Pinterest etc, we suggest staying away from any pose that you do not know how to achieve safely. Certain poses done by a professional photographer are a composite of 2 or more images. An example of one such pose is a froggy pose. The froggy pose is always a composite, baby is never left in that position by themselves for safety reasons. Many such newborn poses require understanding how to properly support the baby’s body, especially their neck as at this age they do not have neck control and their muscles and bones are fragile. Have a look at these images where I was able to achieve the desired pose without compromising on the baby’s safety by making sure their delicate head, neck and back were supported at all times.
The above images were achieved by combining 2 – 3 images together in photoshop. We suggest staying away from such poses as these require posing knowledge and skills which only a professional experienced newborn photographer will have.
3 - Props
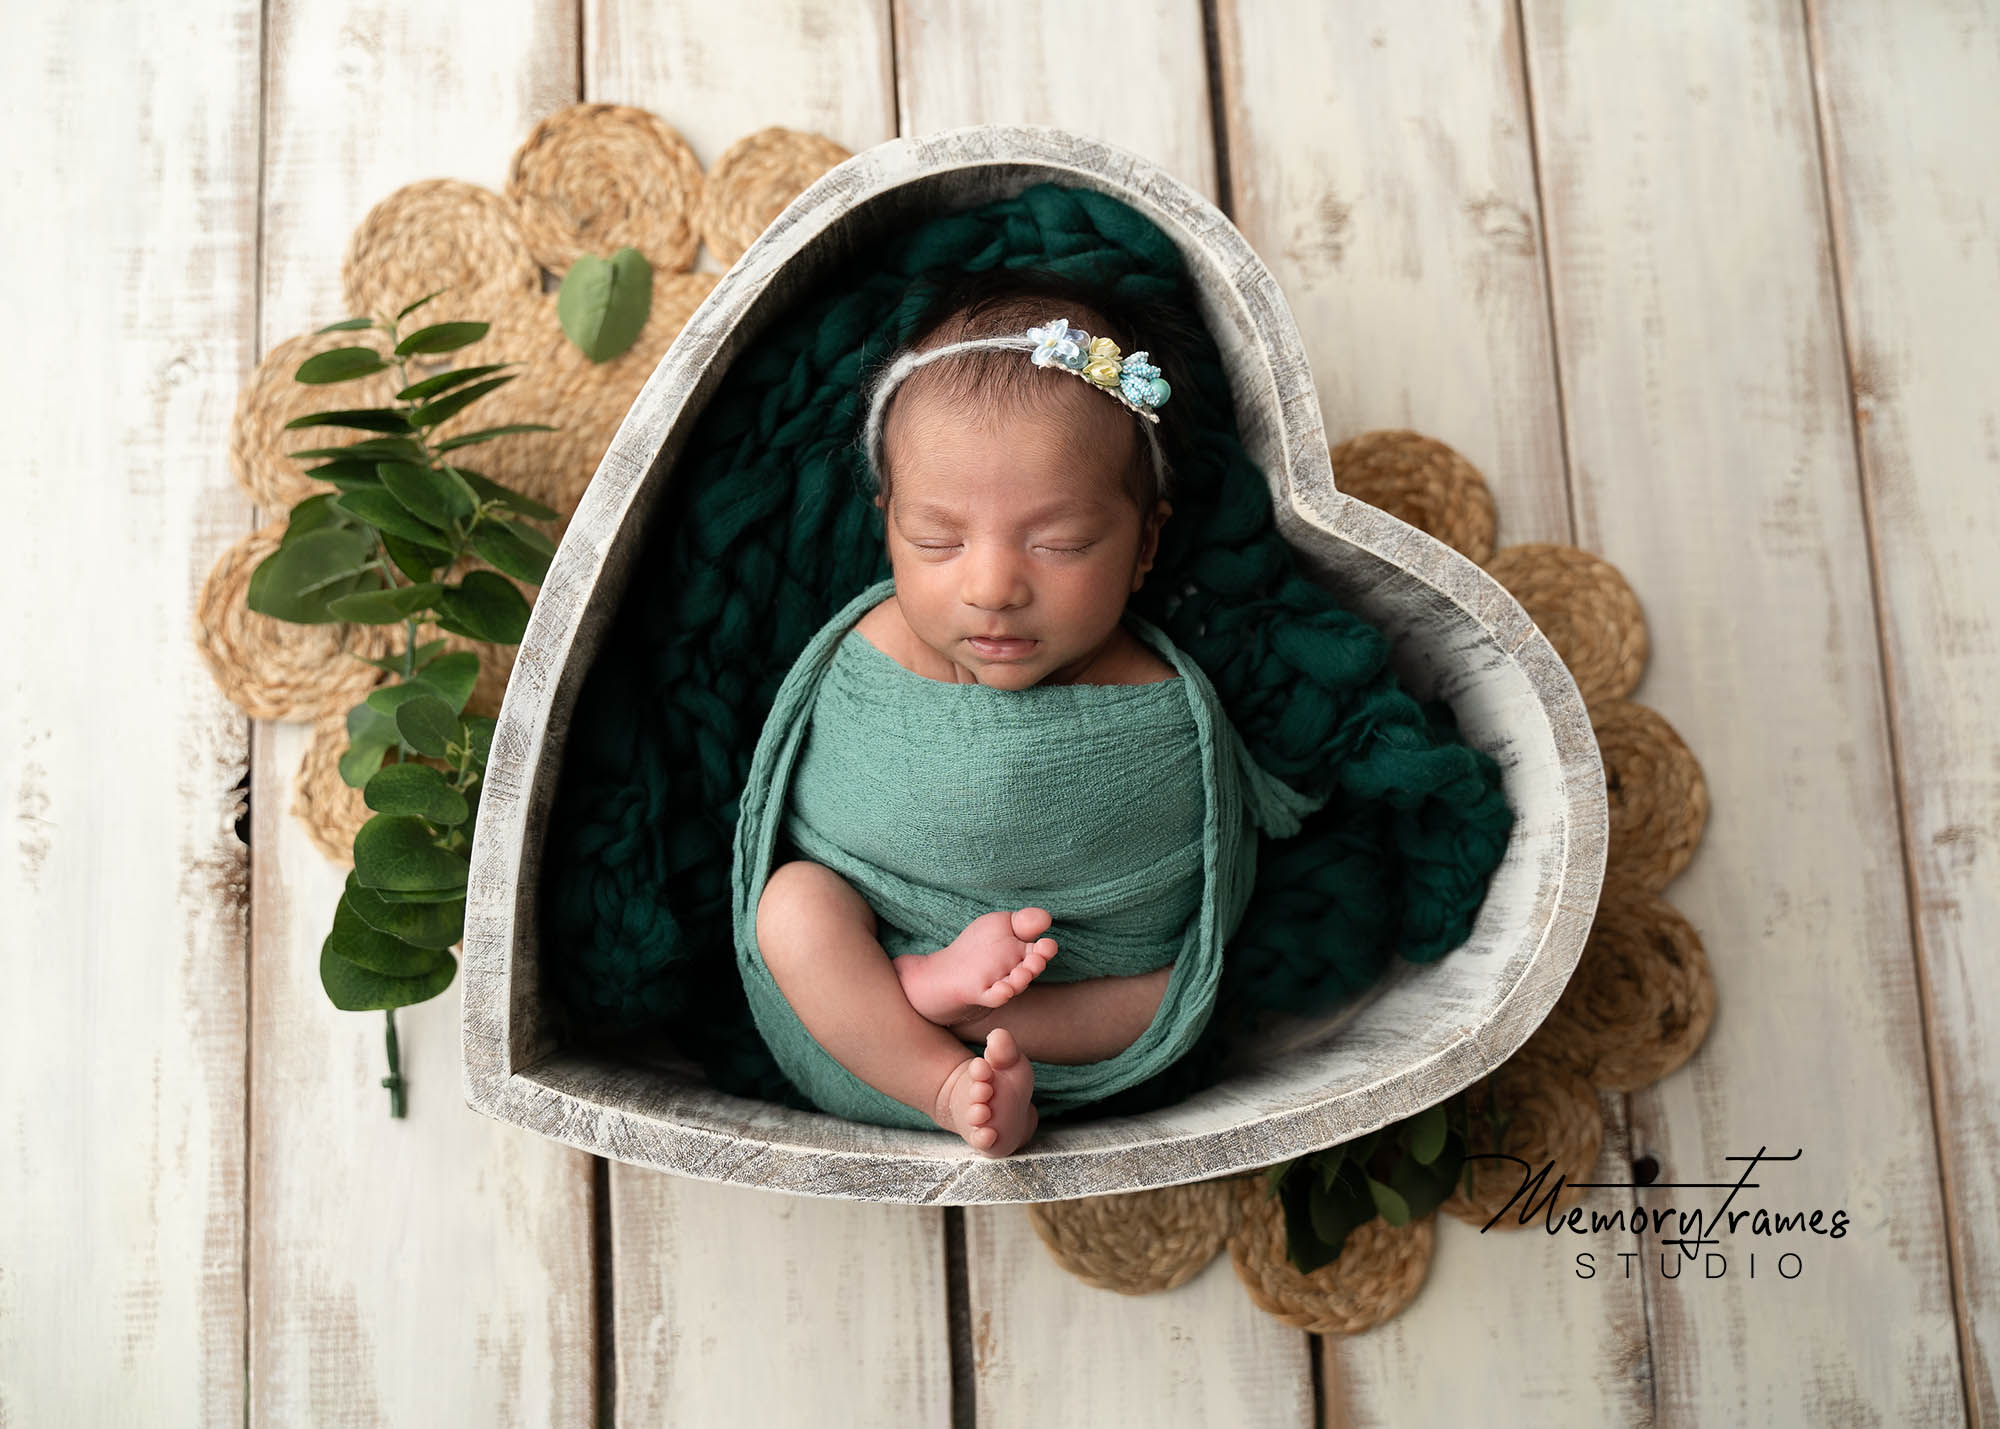
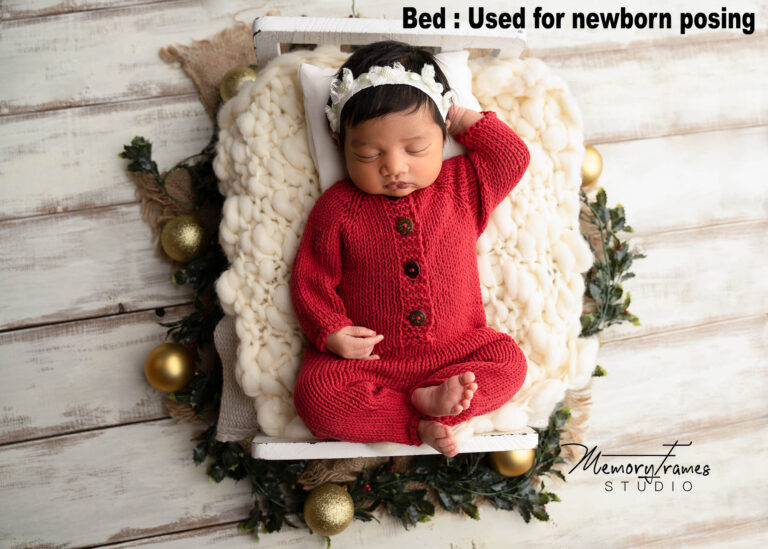
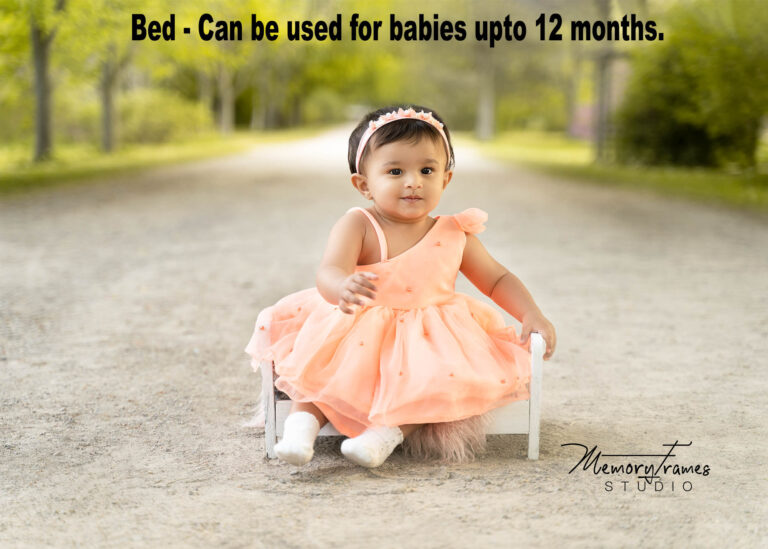
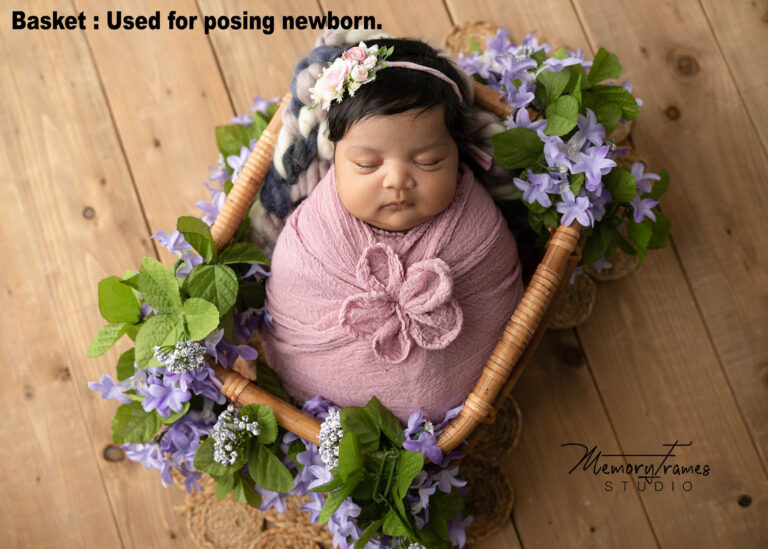
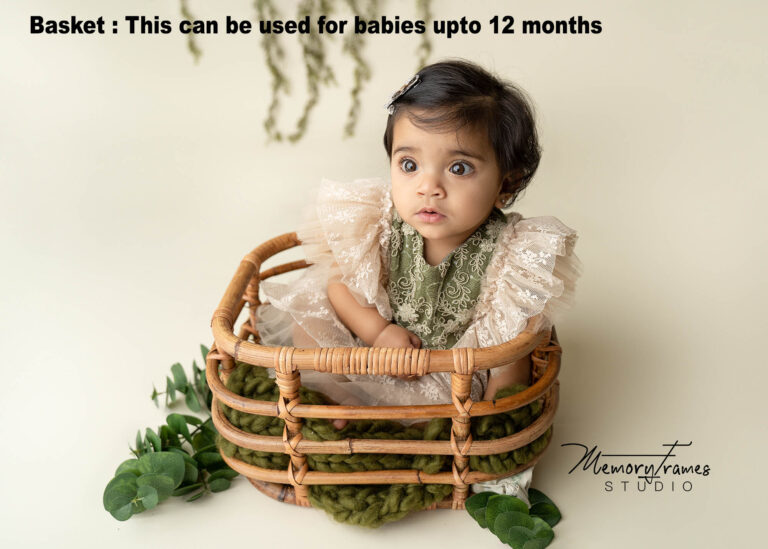
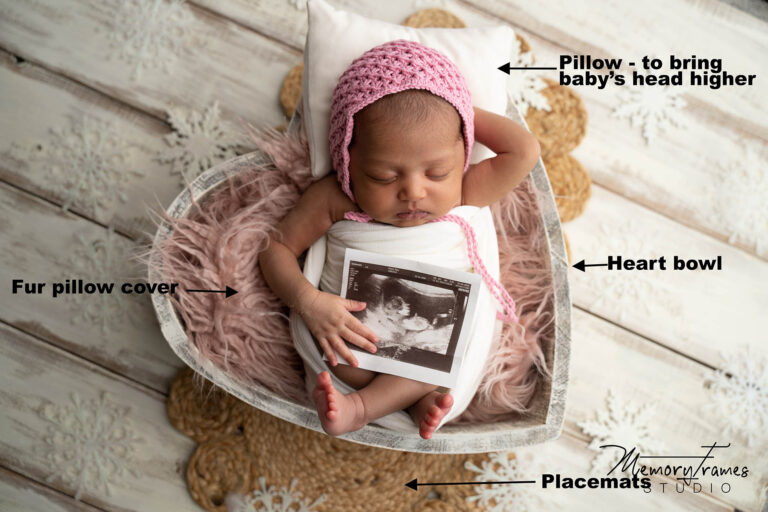
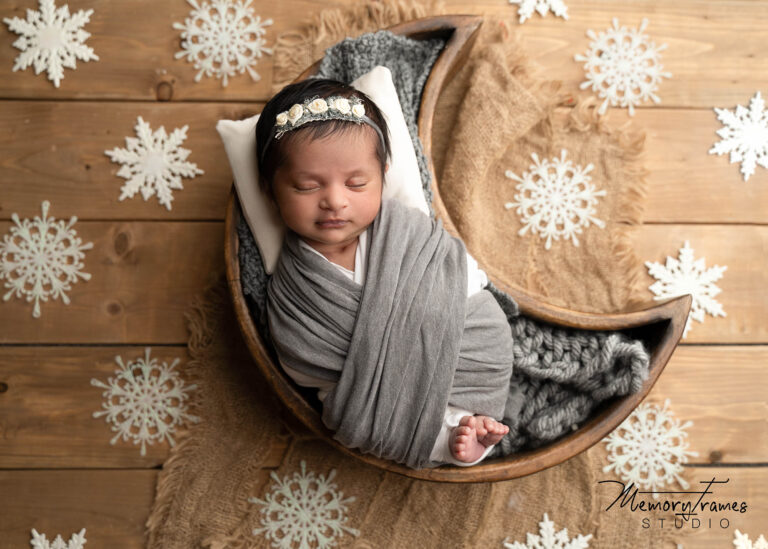
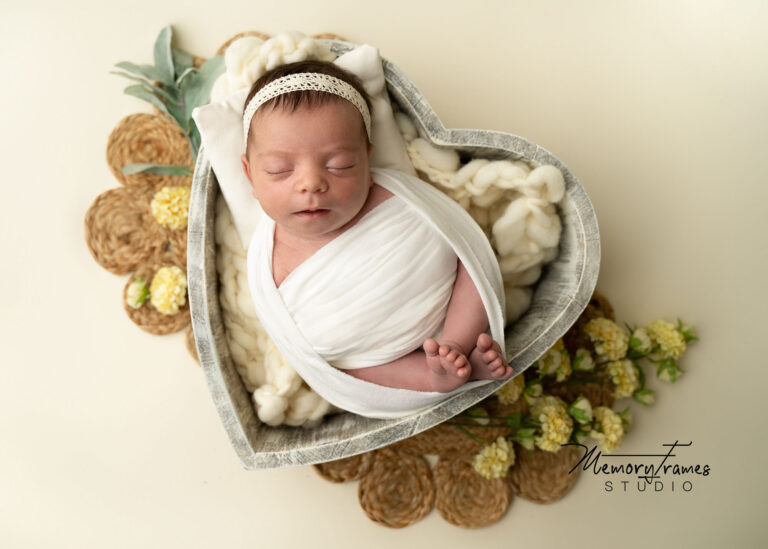
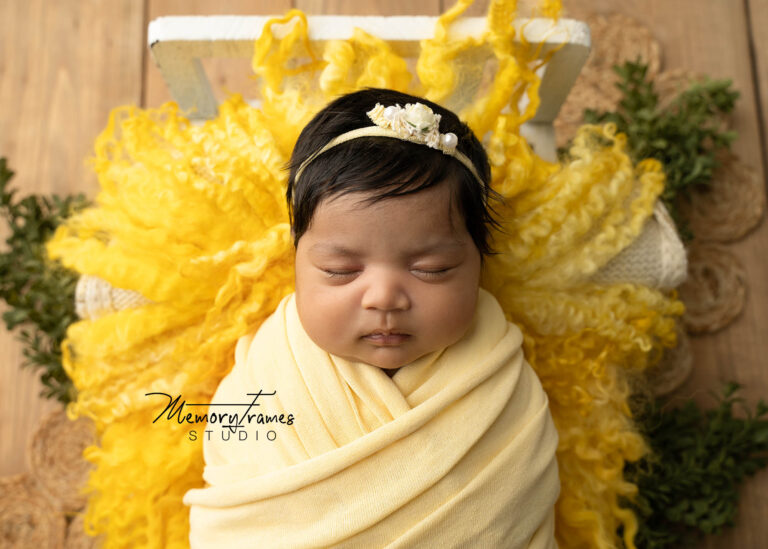
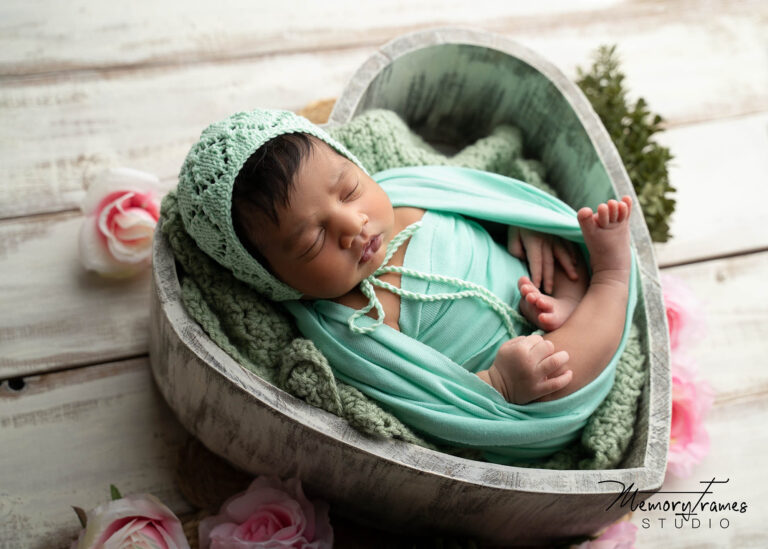
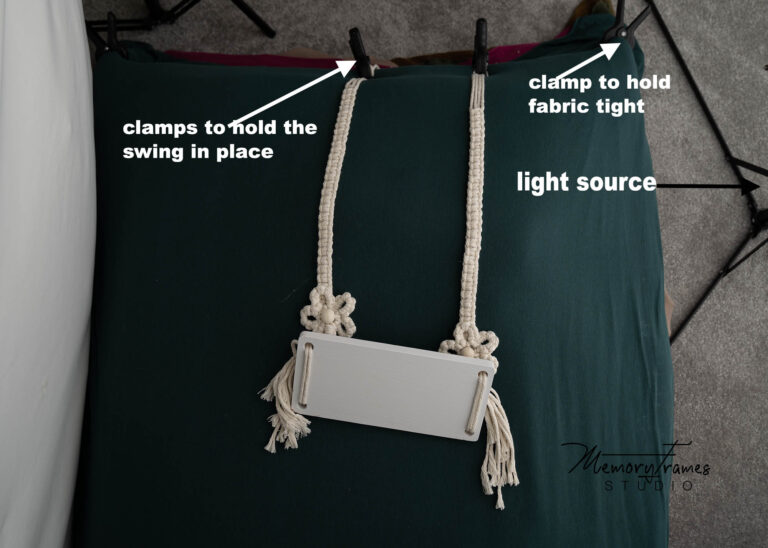
Professional newborn photographers have a variety of good quality props, while it might not be worth buying these props for just one-time use you can look for one prop that is versatile that you will be able to use at different stages as your baby grows. A bed or basket would work perfectly to take newborn photos as well as milestone photos when your baby is 6 – 12 months old. Check the images below to see how we have used bed and basket for newborns as well as milestone sessions. We have linked a few props (Newborn bed prop, Newborn basket prop, Newborn heart prop and Swing prop) if you are looking to buy them. If you are looking for cheaper alternatives you can buy a basket from a local home decor shop. Any type of basket or bowl which is around 15 inches in diameter should work for posing your newborn.
- Wraps: You can also use beautiful wraps to swaddle your baby. We have a video on how to do a natural wrap be sure to watch it and practise it on a doll or a soft toy before the baby’s arrival. Wraps used by professional photographers are stretchy, we highly recommend using a stretchy fabric for wrapping/swaddling the baby so that you can wrap the baby snugly and nicely. You want to ensure that you do not wrap the baby too tightly. Baby should be comfortable in the wrap/swaddle. Here is the link to newborn wraps we recommend using to swaddle your baby for the photoshoot.
- Outfits: You can also opt for cute newborn outfits for some images. While buying newborn outfits for photoshoots look for the ones that are specially for newborn photography. Newborn outfits that are sold in regular children’s clothing stores tend to be bigger for regular newborns, even though they are labelled as newborn size. However, if you can buy a preemie size outfit and if it fits nice and snug on your newborn baby then that should work. We recommend outfits that have soft fabric preferably a little stretch. Here is the link to the newborn girl outfit and newborn boy outfit that you can consider buying for your baby’s newborn photoshoot at home.
- Posing Bed – A posing bed is something photographers use to pose the baby on. You can use your bed, a mattress, couch cushions etc as a posing bed. If you are using couch cushions as your posing bed you will need 4 of them placed next to each other to get a nice square and then cover them with multiple blankets so that the gaps in between the cushion is not visible. The top layer of the posing bed will act as your backdrop also called posing fabric.
- Posing fabric/backdrops: We recommend using any stretchy fabric as your backdrop for the posing bed. A stretchy fabric works best as you can tightly clamp the edges to get that seamless look and prevent wrinkles. Having wrinkles in your photos will look distracting and you might have to spend time editing them out later. So it is best to use fabrics that are stretchy or don’t wrinkle easily. This fabric would work perfectly as newborn posing fabric, you will need 2 yards for your backdrop and wrap. You can cut your wrap measuring 60″ – 70″ in length and 14″ – 18″ in width from that 2-yard fabric.
- Decorative layers: Decorative layers could be used as a top layer in your prop. You will also need blankets, towels etc to stuff your prop. Obviously, you want to cover this stuffing in your prop with something fancy. That top fancy layer could be a furry blanket, crochet tablecloth, fur pillow cover or as simple as a lace fabric. We have linked the newborn bump blanket an option that could be used as the top layer if you don’t already own something that could be used as a decorative layer.
- The backdrop and floor mats: You want to place your props on a floor that is not shiny, avoid tiles and wood flooring that has glare. You can use throws or a kid’s playing mat (plain neutral color) as a floor/backdrop for your prop shots. Stay away from thin vinyl backdrops they will make your images look tacky. You can use a plain stretchy fabric that you can lay on the floor. If using fabric as a backdrop on the floor keep something heavy on the edges/ corner of the fabric so that the weight holds the fabric in place. For your prop poses if you use decorative mats underneath the prop it will create beautiful setups. These are optional however using one will add aesthetic value to your setups and help create images that will look close to professional newborn photographers. Links to decorative mats (Jute placemat, Macrame layer for newborn photoshoot, Woven placemat).
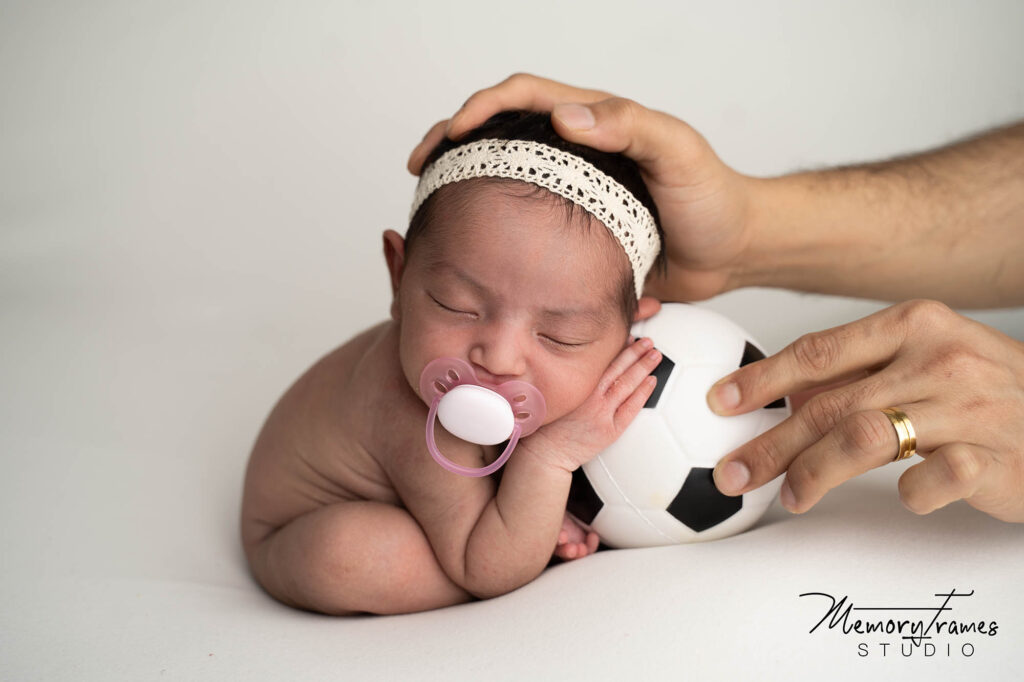
Props safety – Please be very careful when buying props like baskets, bowls, beds etc. Check there is nothing sharp that might hurt the baby while posing. If you are buying second hand make sure it is stable and safe for posing the baby in it. Use blankets, swaddles, and receiving blankets to stuff in the prop and then pose the baby. Baby should never be placed directly in a prop without any layers. Always have someone sitting close to the baby while you are taking images. It is necessary to spot the baby at all times while doing a newborn photoshoot for the baby’s safety. Never leave a baby unattended in a prop.
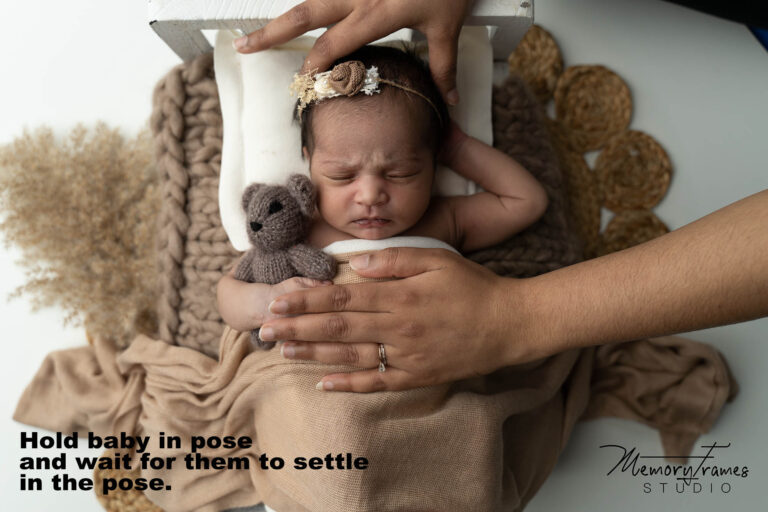
For the safety of baby always have someone sit next to the baby. You can also ask the assistant to keep their hand on the baby and only move when you want to take a shot. Look at the below images, these are all taken at our Kitchener newborn photography studio and we always ask parents to help with spotting the baby.
How to take newborn photos at home? : Execution
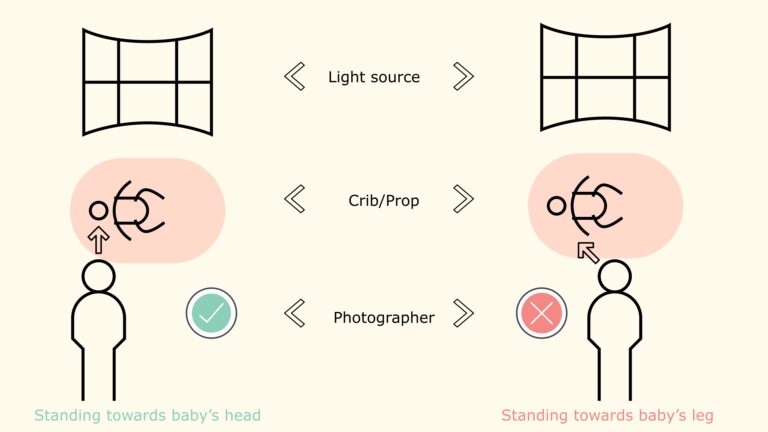
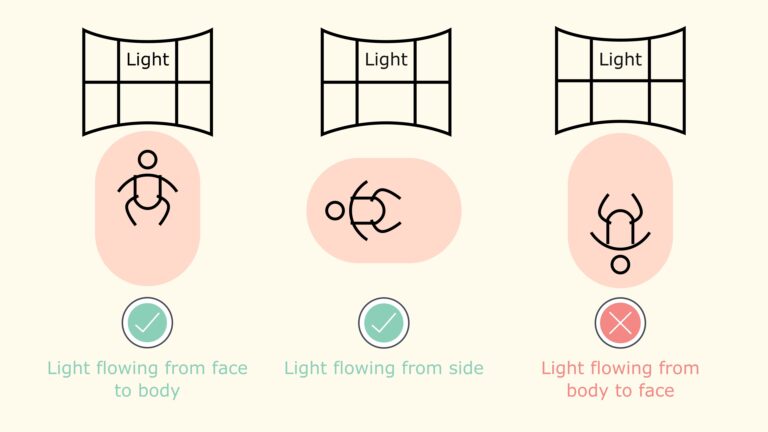
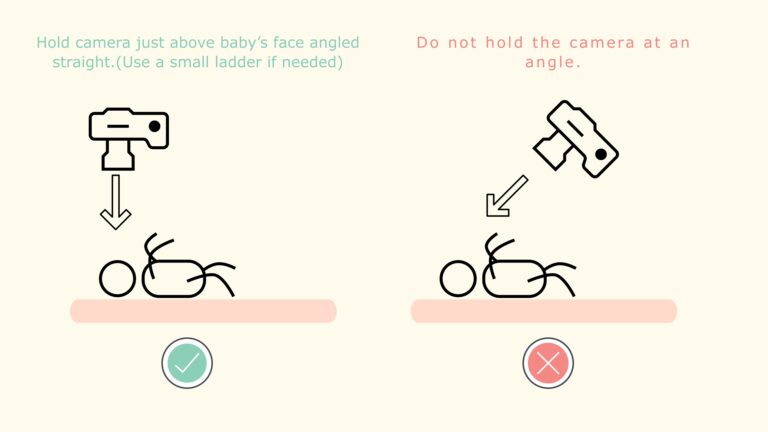
This phase of the newborn photoshoot is the most exciting, this is the time you were waiting for. If you have planned and prepared before the baby’s birth and are ready with all the equipment, props, and have decided which poses you want to achieve then you should be able to take beautiful images for creating long-lasting memories. Two things that will be the deciding factor if your final images will turn out as close as possible to a professional experienced newborn photographer are the flow of light on the baby (from which direction the light is falling on the baby) and the angle (where you stand in relation to the baby for clicking the photos). Please view the below illustrations to understand the correct way.
1 Day and time: How to take newborn photos at home?
Once the baby arrives home, you need to decide when is the best time to do a newborn photoshoot. Any day between 4 – 14 days is ideal for a newborn photoshoot. If mom is helping with the photoshoot, you want to wait until she has recovered from the delivery. The newborn photoshoot should take about 45 minutes to an hour. You would want to choose a time when the baby has been fed and is sleeping soundly. We recommend doing the newborn photoshoot in the morning, however, you know your baby best and if you think there is a better time during the day when your baby sleeps well you can choose to do the photoshoot at that time.
2 Setting up an area: How to take newborn photos at home?
- Bright room: You will need to choose a room or an area in your home with lots of natural light if you are not using studio lighting. Cover the windows with sheer white curtains so that the light is not too harsh, If one curtain is not enough to achieve soft light try to cover it with double sheer curtains or even 3 if needed, and avoid direct sunlight.
- Warm room: Warm the room or the area you will be using for the newborn photoshoot. Keep in mind the room needs to be warm so that the baby is comfortable when you are posing him/her without clothes. Do not overheat the room and do not place the heater facing directly on the baby. Remember to turn off the heater when you are doing swaddled/wrapped poses so that the baby doesn’t get too hot.
3 Setup: How to take newborn photos at home?
You can choose to do a photoshoot on any of the following set-ups or if you want a variety of images you can try doing all the 3 set-ups.
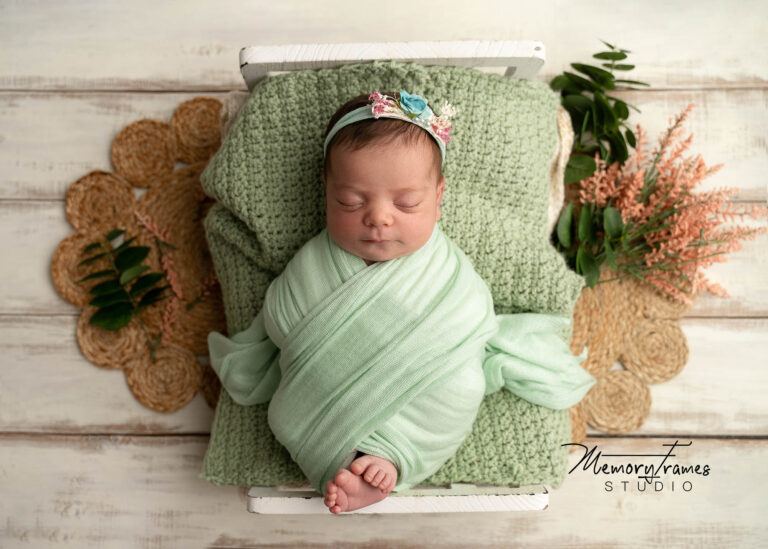
- A prop – For prop poses it is best to swaddle the baby, also ensure you turn off the heater once you swaddle up the baby. Stuff the props with some blankets, towels or receiving blankets to make them cushiony and comfortable for the baby. The top layer to cover the cushiony stuffing should be something that looks pretty, we recommend using a solid color, ideally, one which matches or complements the swaddle that you will be using for the baby. If you have a lace fabric or textured fabric it will work best to cover the stuffing in the prop. Place the baby inside this prop over the stuffing ensuring the baby’s head is a little higher than the baby’s body and not lying flat. You can fold receiving blankets and keep them under the baby’s head to bring the baby’s head higher than the body. Place the baby in the prop in such a way that the light is flowing across the face.
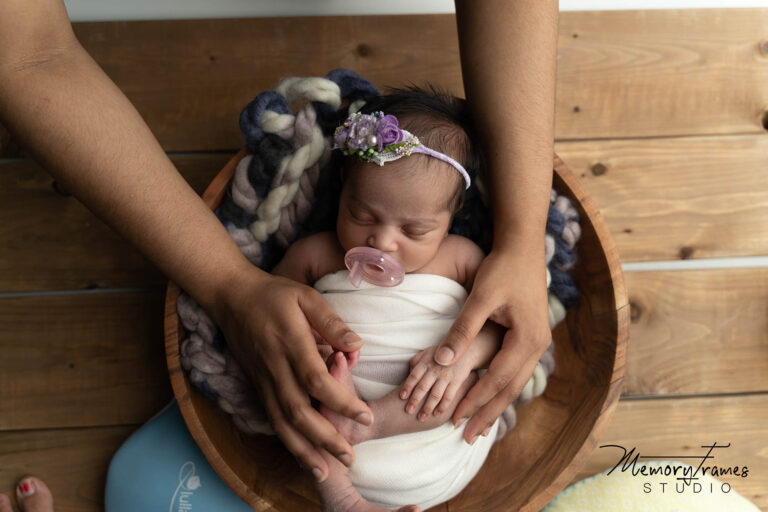
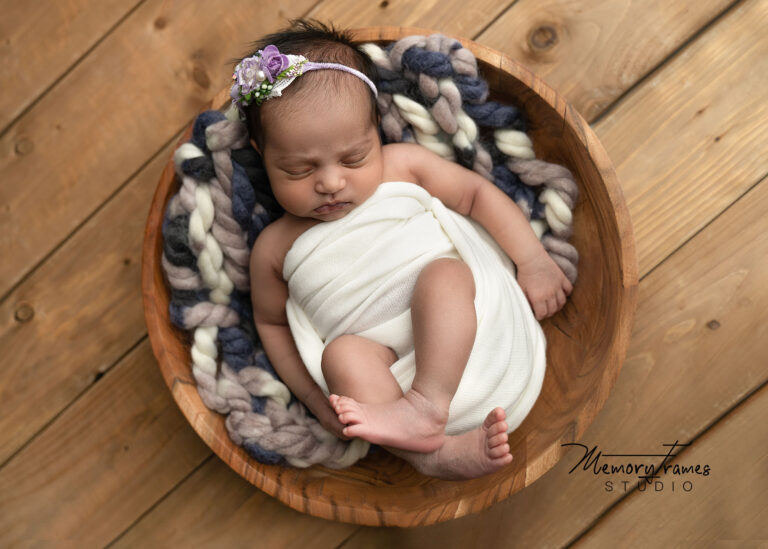
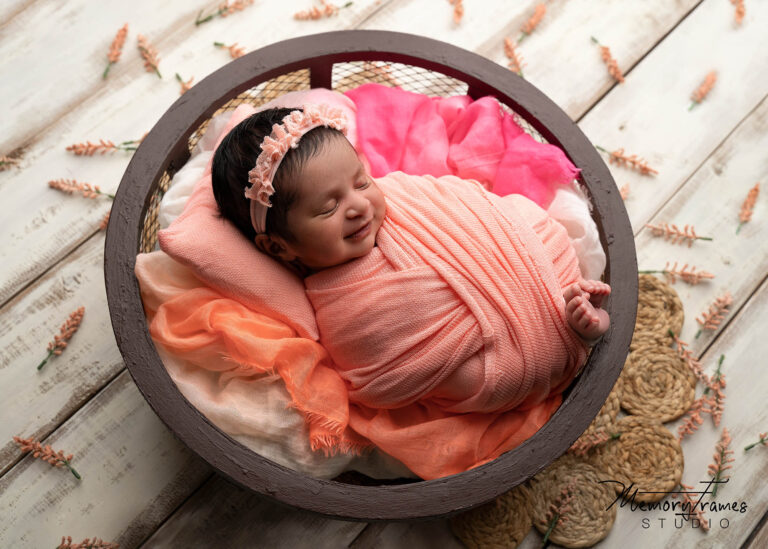
a) Prop pose top view full set-up: Holding the camera right above the face point it straight down the baby’s face and take a few images such that you are able to capture the entire setup. See the below examples of top-view full setup shots.
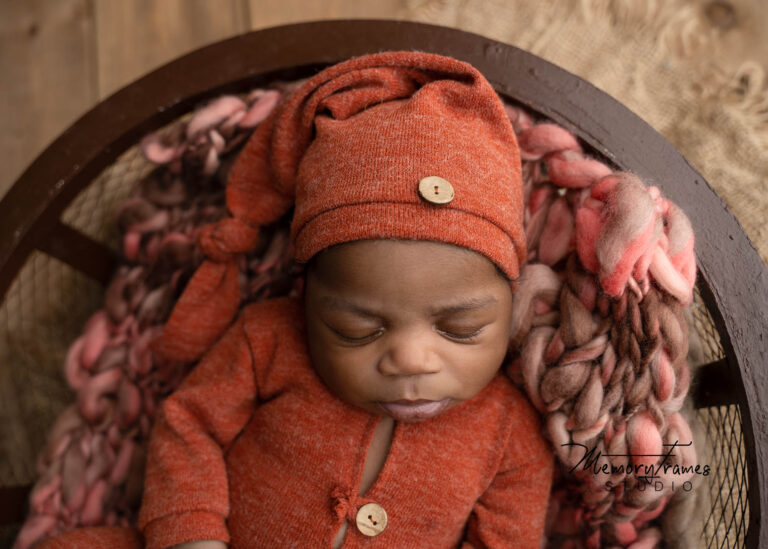
b) Prop pose top view close-up shots: Holding the camera right above the face point it straight down the baby’s face and take a few images close-up shots. See the below examples of top-view close-up shots.
c) Prop pose backlit angle: For this angle, you will stand on the opposite side of the prop such that the prop is in between the light source and the photographer. Stand towards the baby’s face and take a few images. See examples of backlit angle images below
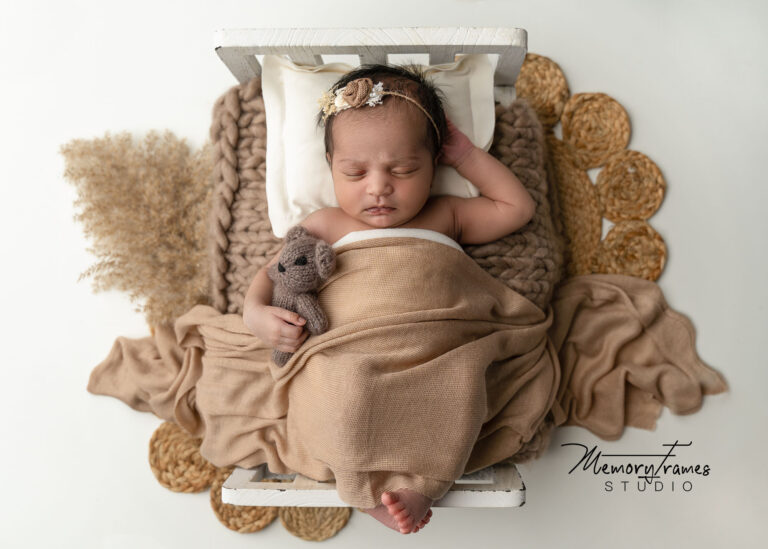
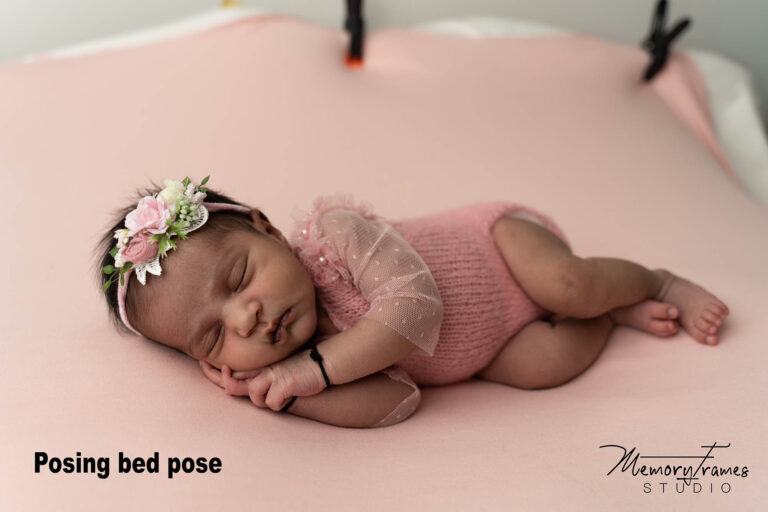
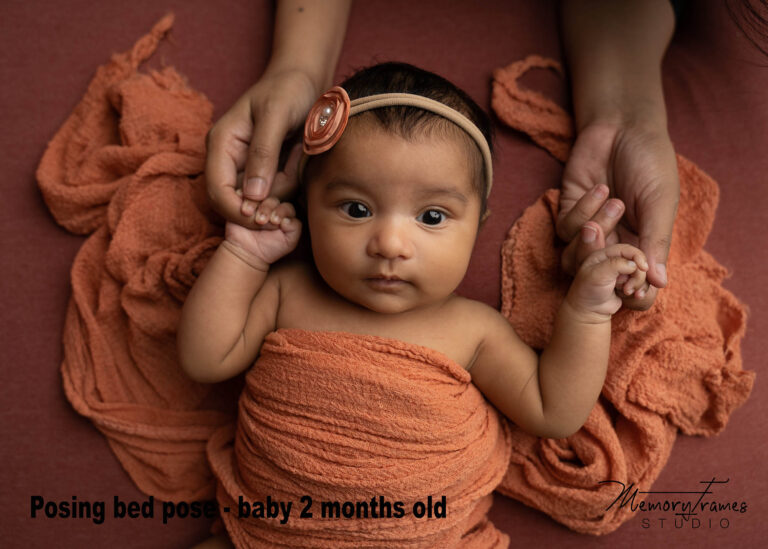
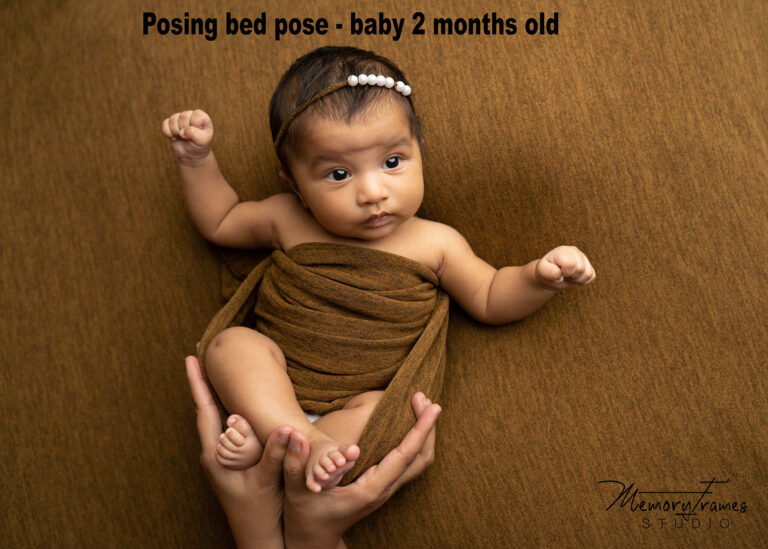
- A posing bed: Make sure your backdrop is nice and tight so that there are no wrinkles on it. You can do a variety of poses on a posing bed. At all times remember to click images from directly above the baby’s face if taking the top view. If you are clicking the images from the side, you want to stand close to the baby’s face and not towards the legs. See some examples of poses using the posing bed below and links to similar props.
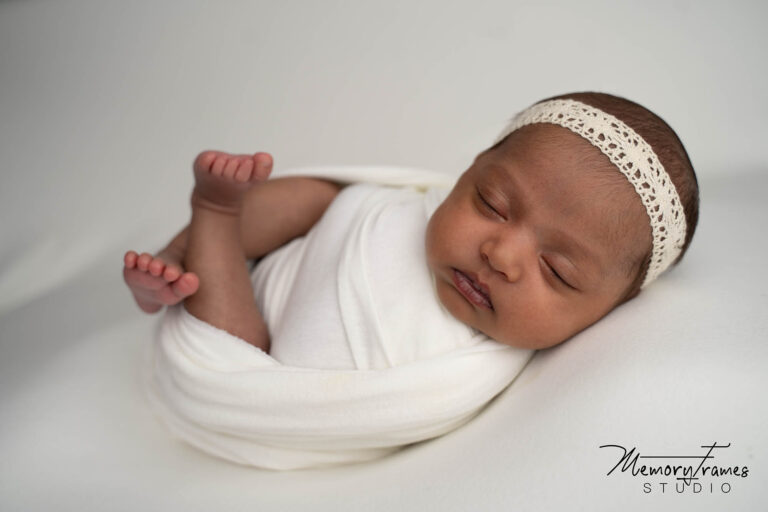
a) Posing bed pose side view. Below images were taken standing close to the baby’s face. You can add a pillow under the baby’s head to bring the head higher.
b) Posing bed pose top view. Below images were taken holding the camera directly above the baby’s face and pointing straight down.
- A crib – Set up the baby’s crib in the room or area you have decided to do the photoshoot. You can also choose to do the photoshoot in the baby’s room so that you don’t have to move the crib from one room to another. You will need to keep the crib in a place where there is enough natural light (avoid direct sunlight). Use a plain crib mattress cover or just use a plain fabric to cover the crib mattress. Dress the baby in a cute outfit and place them in the crib such that the light is flowing down the baby’s body. In other terms, the head should be closer to the source of light and the legs away from the source of light.
For variety, you can use props like a letter board (with a cute message or date of birth), a small teddy, or flowers next to a baby and take a few images.:
a) Crib pose side view: Stand closer to the baby’s head while clicking images. Images taken by standing toward the baby’s legs will not look flattering. One tip to know if you are taking pictures from the right angle is to look for baby’s nostrils, if you are able to see the baby’s nostrils that means you need to move upward towards the baby’s head. Meaning, you should not be able to see the baby’s nostrils.
b) Crib pose top view: Take a few images from the top above the baby use a stool if you need to so that you can take a shot where the entire crib can be seen.
c) Crib pose backlit: Move the crib closer to the source of light and take a few shots from the opposite side of the light. In this setup, the crib will be placed lengthwise near the window/source of light, and it will be placed in such a way that the crib is in between you and the source of light. Take a few shots standing closer to the baby’s head (head end of the crib).
How to take newborn photos at home? : Editing
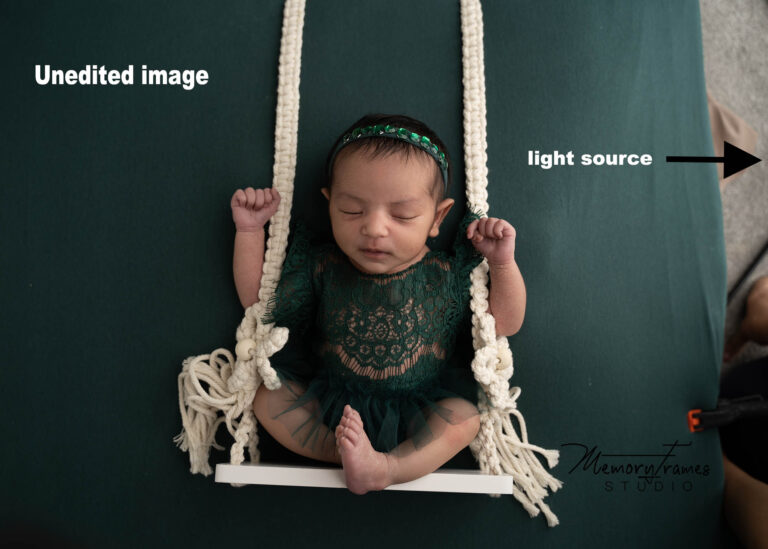
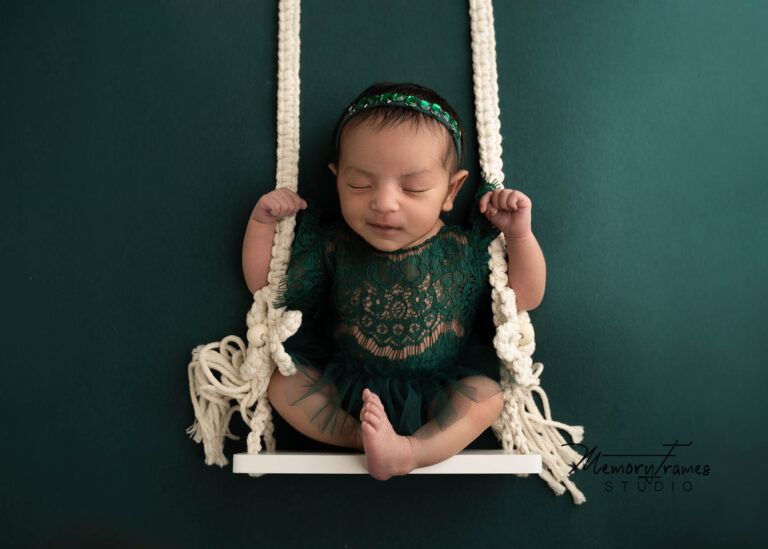
Editing is one integral part of the newborn photoshoot. Completing the backdrop, adjusting brightness, editing skin etc can be done using various editing softwares like photoshop. If you are someone who likes the raw look of your images you can keep them as is. If you do not have access to editing software or don’t know how to edit your images you can easily outsource editing.
A newborn photoshoot can be the perfect way to capture those precious moments of your baby’s early life. The most significant things to consider while doing a newborn photoshoot at home is the baby’s safety and preparation. Arranging all of the necessary equipment and props, before the birth of a baby. Taking time to prepare beforehand will help ensure smooth sailing during the shoot. Now that you know how to take newborn photos at home try it out and enjoy your newborn photoshoot.

